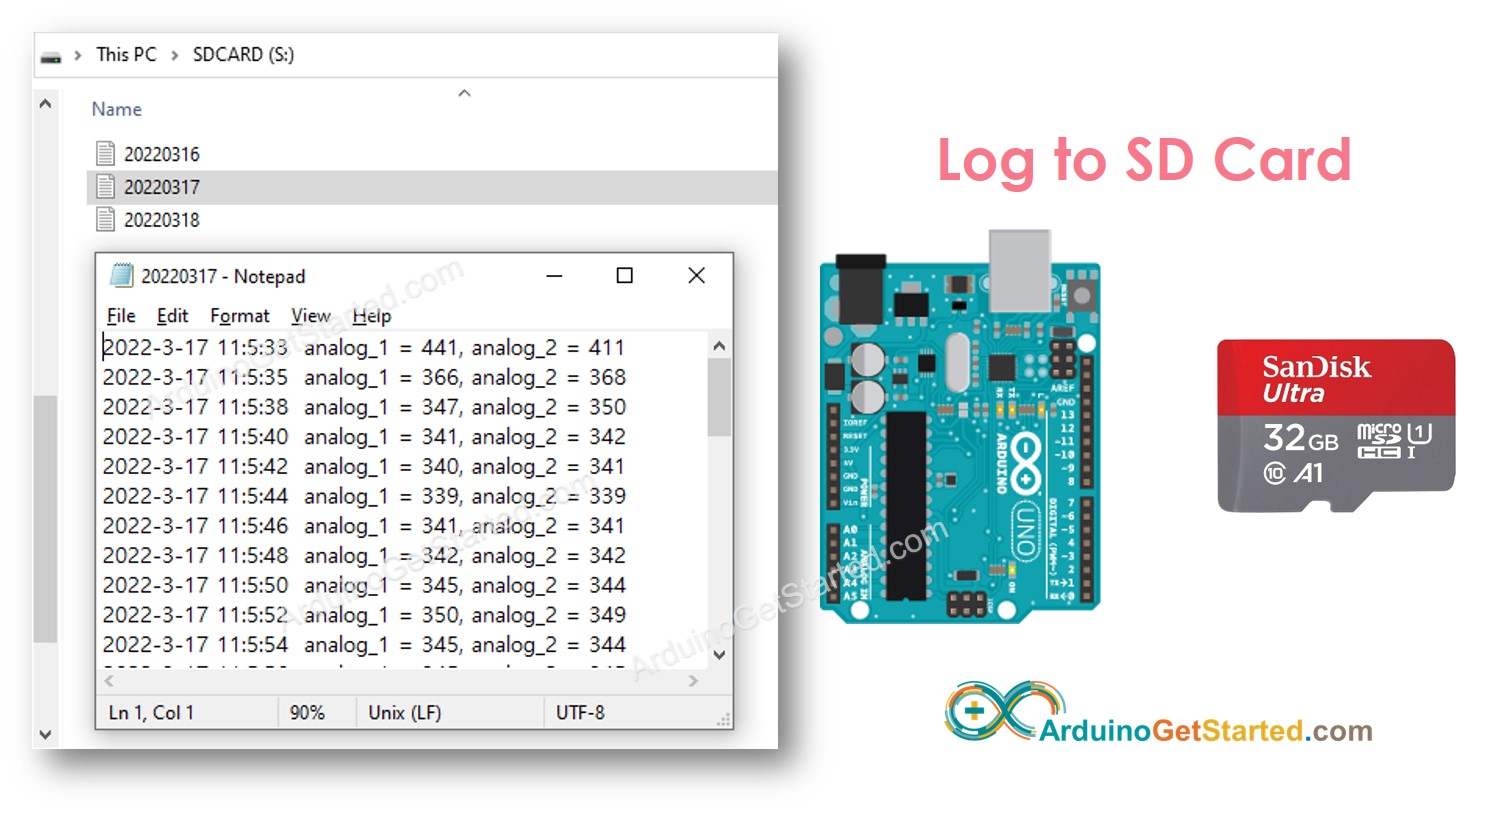
Arduino Ghi dữ liệu có dấu thời gian vào thẻ SD
Trong hướng dẫn này, chúng ta sẽ học cách ghi log có dấu thời gian vào thẻ nhớ Micro SD bằng Arduino. Cụ thể, chúng ta sẽ học:
- Arduino - Cách ghi dữ liệu có dấu thời gian vào một tập tin trên thẻ nhớ Micro SD
- Arduino - Cách ghi dữ liệu có dấu thời gian vào nhiều tập tin trên thẻ nhớ Micro SD, mỗi ngày một tập tin
Thông tin thời gian được lấy từ một mô-đun RTC và được ghi vào thẻ Micro SD cùng với dữ liệu.
Dữ liệu được ghi vào thẻ nhớ Micro SD có thể là bất kỳ thứ gì. Ví dụ:
- Dữ liệu được đọc từ bất kỳ cảm biến nào
- Lịch sử truy cập khóa cửa
Để đơn giản, bài hướng dẫn này đọc giá trị từ hai chân analog làm ví dụ về dữ liệu. Bạn có thể dễ dàng điều chỉnh mã để phù hợp với bất kỳ loại dữ liệu nào.
Phần cứng cần chuẩn bị
| 1 | × | Arduino Uno R3 | Amazon | |
| 1 | × | USB 2.0 cable type A/B (for USB-A PC) | Amazon | |
| 1 | × | USB 2.0 cable type C/B (for USB-C PC) | Amazon | |
| 1 | × | Micro SD Card | Amazon | |
| 1 | × | Micro SD Card Module | Amazon | |
| 1 | × | (Tùy chọn) MicroSD to SD Memory Card Adapter | Amazon | |
| 1 | × | Real-Time Clock DS3231 Module | Amazon | |
| 1 | × | CR2032 battery | Amazon | |
| 1 | × | dây jumper | Amazon | |
| 1 | × | (Khuyến nghị) Screw Terminal Block Shield for Arduino Uno | Amazon | |
| 1 | × | (Khuyến nghị) Sensors/Servo Expansion Shield for Arduino Uno | Amazon | |
| 1 | × | (Khuyến nghị) Breadboard Shield for Arduino Uno | Amazon | |
| 1 | × | (Khuyến nghị) Enclosure for Arduino Uno | Amazon | |
| 1 | × | (Khuyến nghị) Prototyping Base Plate & Breadboard Kit for Arduino UNO | Amazon |
Or you can buy the following kits:
| 1 | × | DIYables STEM V3 Starter Kit (Arduino included) | Amazon | |
| 1 | × | DIYables Sensor Kit (18 sensors/displays) | Amazon |
Về mô-đun thẻ nhớ Micro SD và mô-đun RTC
Nếu bạn chưa biết về Mô-đun thẻ Micro SD và mô-đun RTC (bố trí chân, cách hoạt động, cách lập trình ...), hãy tìm hiểu về chúng trong các hướng dẫn sau đây:
- Arduino - Thẻ nhớ Micro SD hướng dẫn.
- Arduino - Ghi Biến vào Thẻ SD hướng dẫn.
- Arduino - Đồng hồ thời gian thực (RTC) hướng dẫn.
Sơ đồ đấu dây
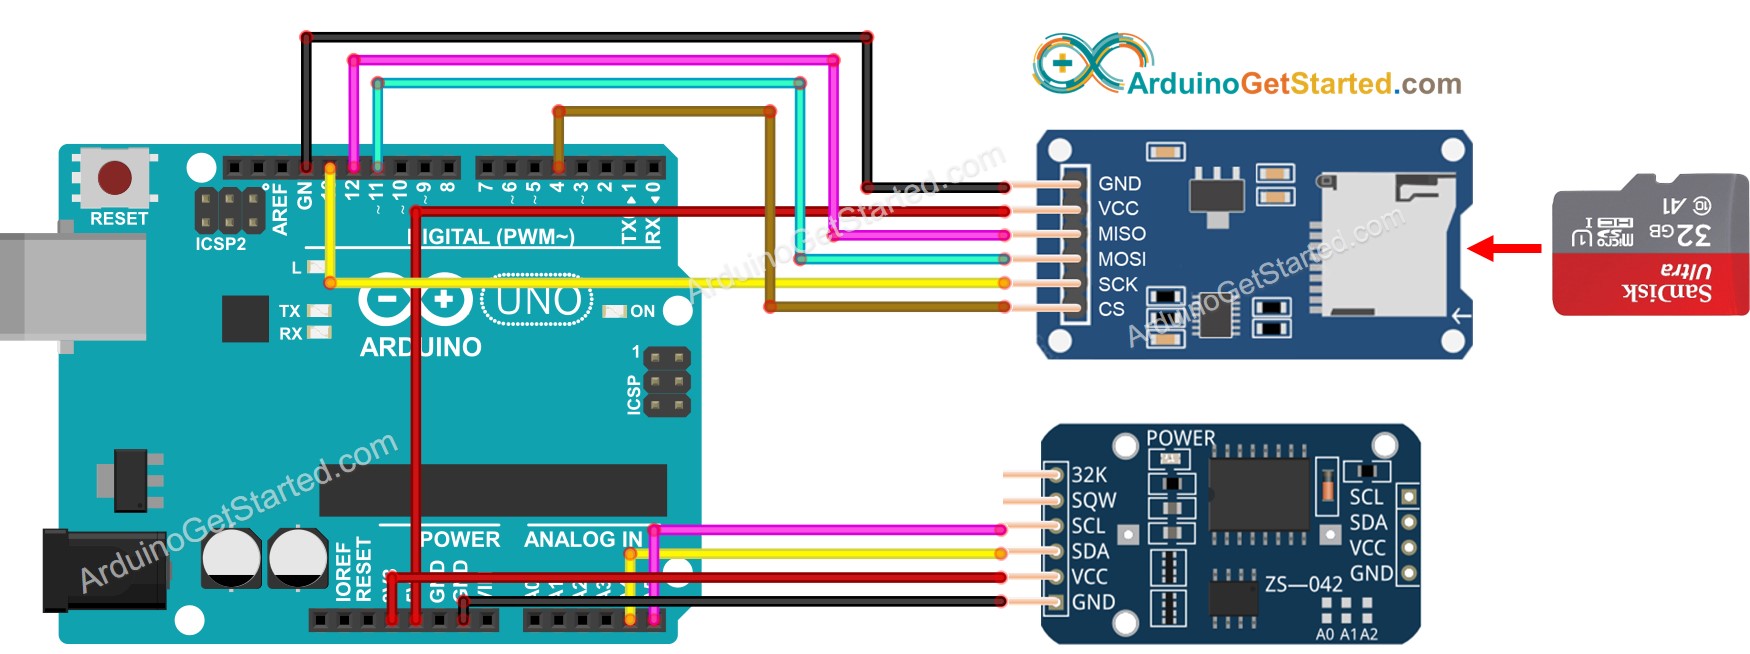
This image is created using Fritzing. Click to enlarge image
※ Lưu ý:
Nếu bạn sử dụng một Ethernet shield hoặc bất kỳ shield nào có khe cắm thẻ Micro SD, bạn sẽ không cần dùng Mô-đun thẻ Micro SD. Bạn chỉ cần chèn thẻ Micro SD vào khe cắm thẻ Micro SD trên shield.
Arduino - Ghi dữ liệu có dấu thời gian vào thẻ nhớ Micro SD
Hướng dẫn từng bước
- Đảm bảo thẻ Micro SD được định dạng FAT16 hoặc FAT32 (tìm kiếm trên Google)
- Sao chép đoạn mã ở trên và mở bằng Arduino IDE
- Nhấp vào nút Tải lên trên Arduino IDE để tải mã lên Arduino
- Xem kết quả trên Serial Monitor.
- Rút thẻ Micro SD khỏi module thẻ Micro SD
- Gắn thẻ Micro SD vào đầu đọc thẻ SD USB
- Kết nối đầu đọc thẻ SD USB với máy tính
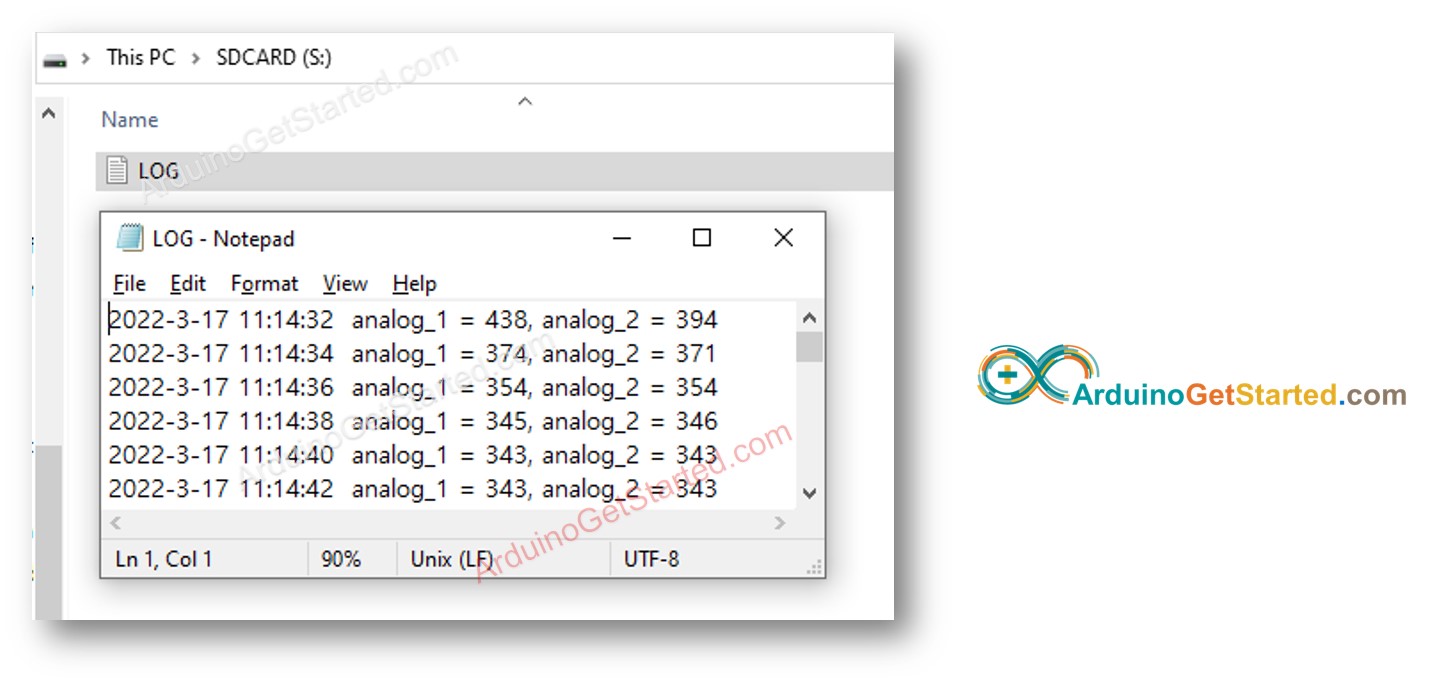
- Mở tệp log.txt trên máy tính của bạn, nó trông như dưới đây
Nếu bạn không có đầu đọc thẻ nhớ SD USB, bạn có thể kiểm tra nội dung của tệp nhật ký bằng cách chạy mã Arduino dưới đây.
Arduino - Ghi dữ liệu vào nhiều tệp
Ghi log vào một tệp duy nhất sẽ làm kích thước tệp tăng lên theo thời gian và khiến việc kiểm tra trở nên khó khăn. Đoạn mã dưới đây sẽ ghi log vào nhiều tệp:
- Một tệp cho mỗi ngày
- Tên tệp là thông tin ngàyL YYYYMMDD.txt
Sau một quãng chạy dài, nếu bạn:
- Rút thẻ Micro SD khỏi mô-đun thẻ Micro SD
- Chèn thẻ Micro SD vào đầu đọc thẻ SD USB
- Kết nối đầu đọc thẻ SD USB với PC
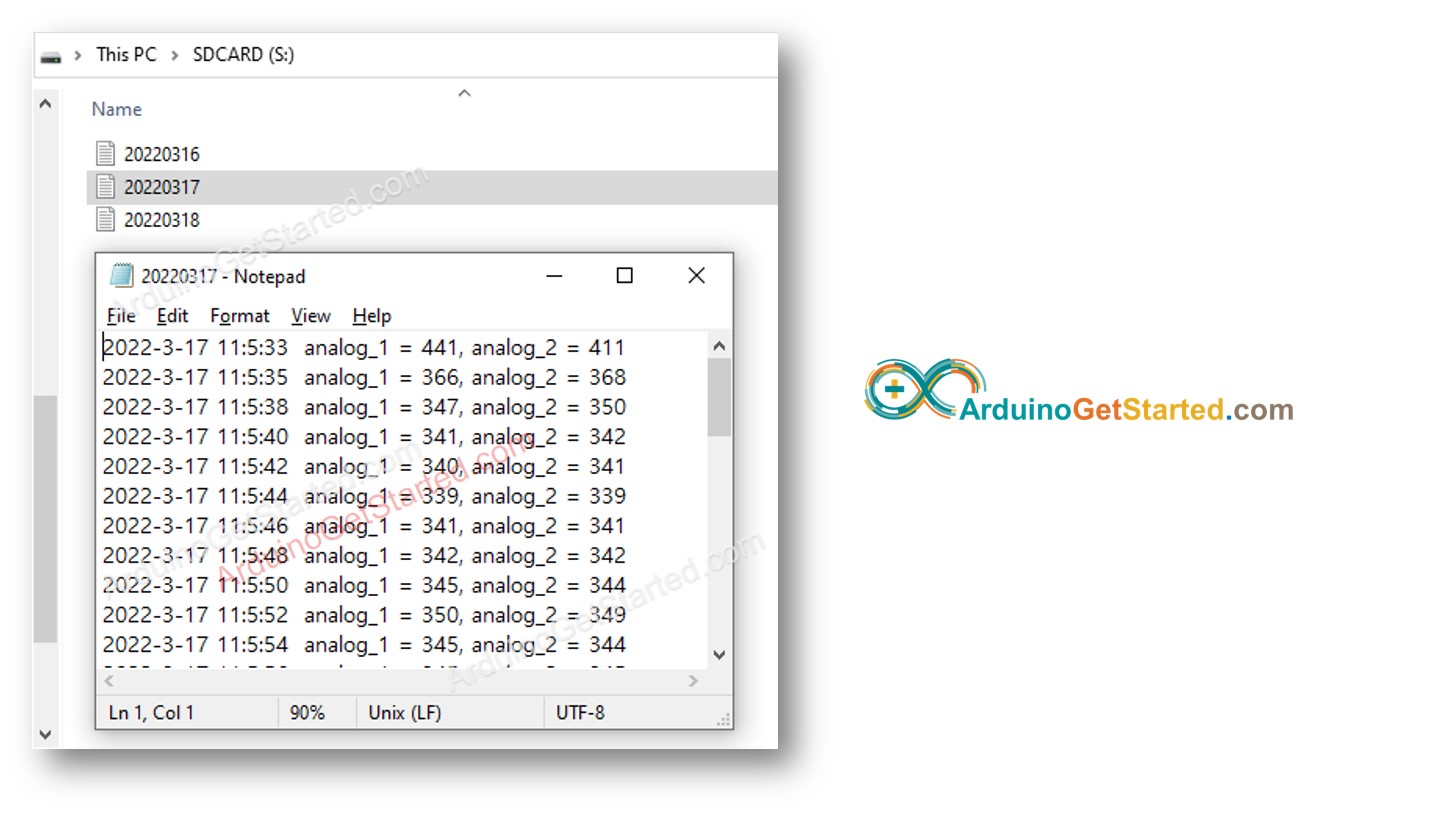
- Bạn sẽ thấy các tệp tin như sau:
Video Tutorial
Việc sản xuất video tốn rất nhiều thời gian. Nếu video hướng dẫn hữu ích cho việc học của bạn, hãy đăng ký kênh YouTube để ủng hộ. Nếu nhu cầu đủ cao, chúng tôi sẽ cố gắng làm thêm nhiều video.
Tham khảo hàm
Bài hướng dẫn liên quan
📱 Ứng dụng đề xuất
 English for KidsHọc tiếng Anh vui nhộn cho trẻ nhỏ.Tải về trênGoogle PlayTải về trênApp Store
 Bubble NoteGhi chú tự xóa — viết như nhắn tin.Tải về trênGoogle PlayTải về trênApp Store
 Tôi Không MuaĐánh bại mua sắm bốc đồng, tiết kiệm hơn.Tải về trênGoogle PlayTải về trênApp Store
 Con Đường Tri ThứcBài thi thử để học mọi thứ.Tải về trênGoogle PlayTải về trênApp Store