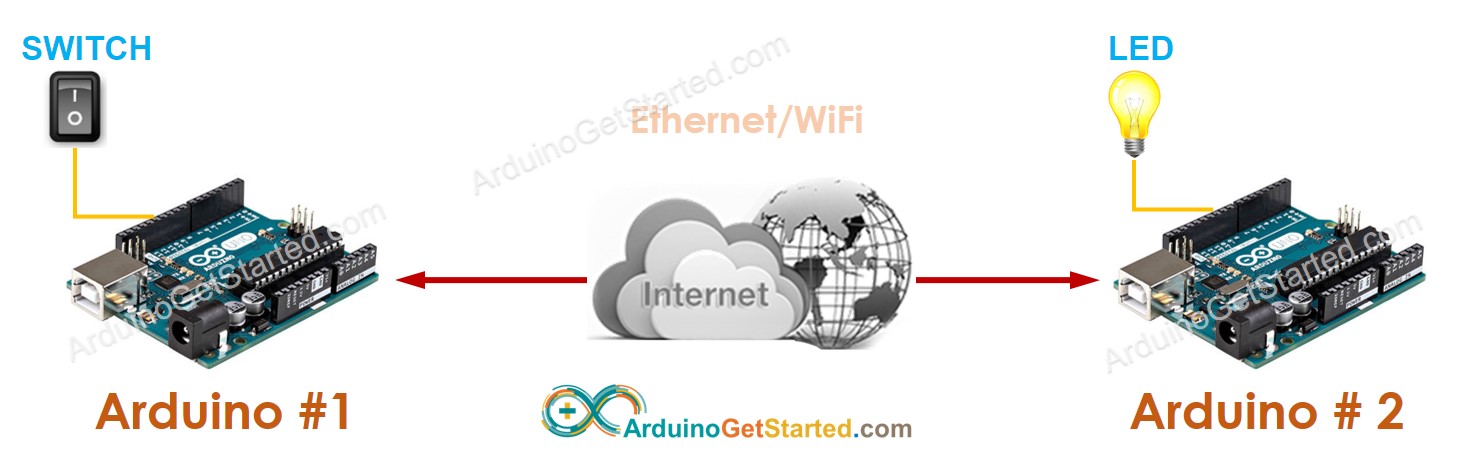
Giao tiếp giữa hai Arduino
Trong hướng dẫn này, chúng ta sẽ học:
- Giao tiếp giữa hai Arduino - Tổng quan
- Giao tiếp giữa hai Arduino qua Ethernet/WiFi
- Ví dụ ứng dụng: Một nút bấm hoặc công tắc được kết nối với Arduino #1 sẽ điều khiển một LED được kết nối với Arduino #2 qua Ethernet/WiFi
- Cách kết nối hai Arduino qua Internet
Hướng dẫn cung cấp mã Arduino cho hai trường hợp:
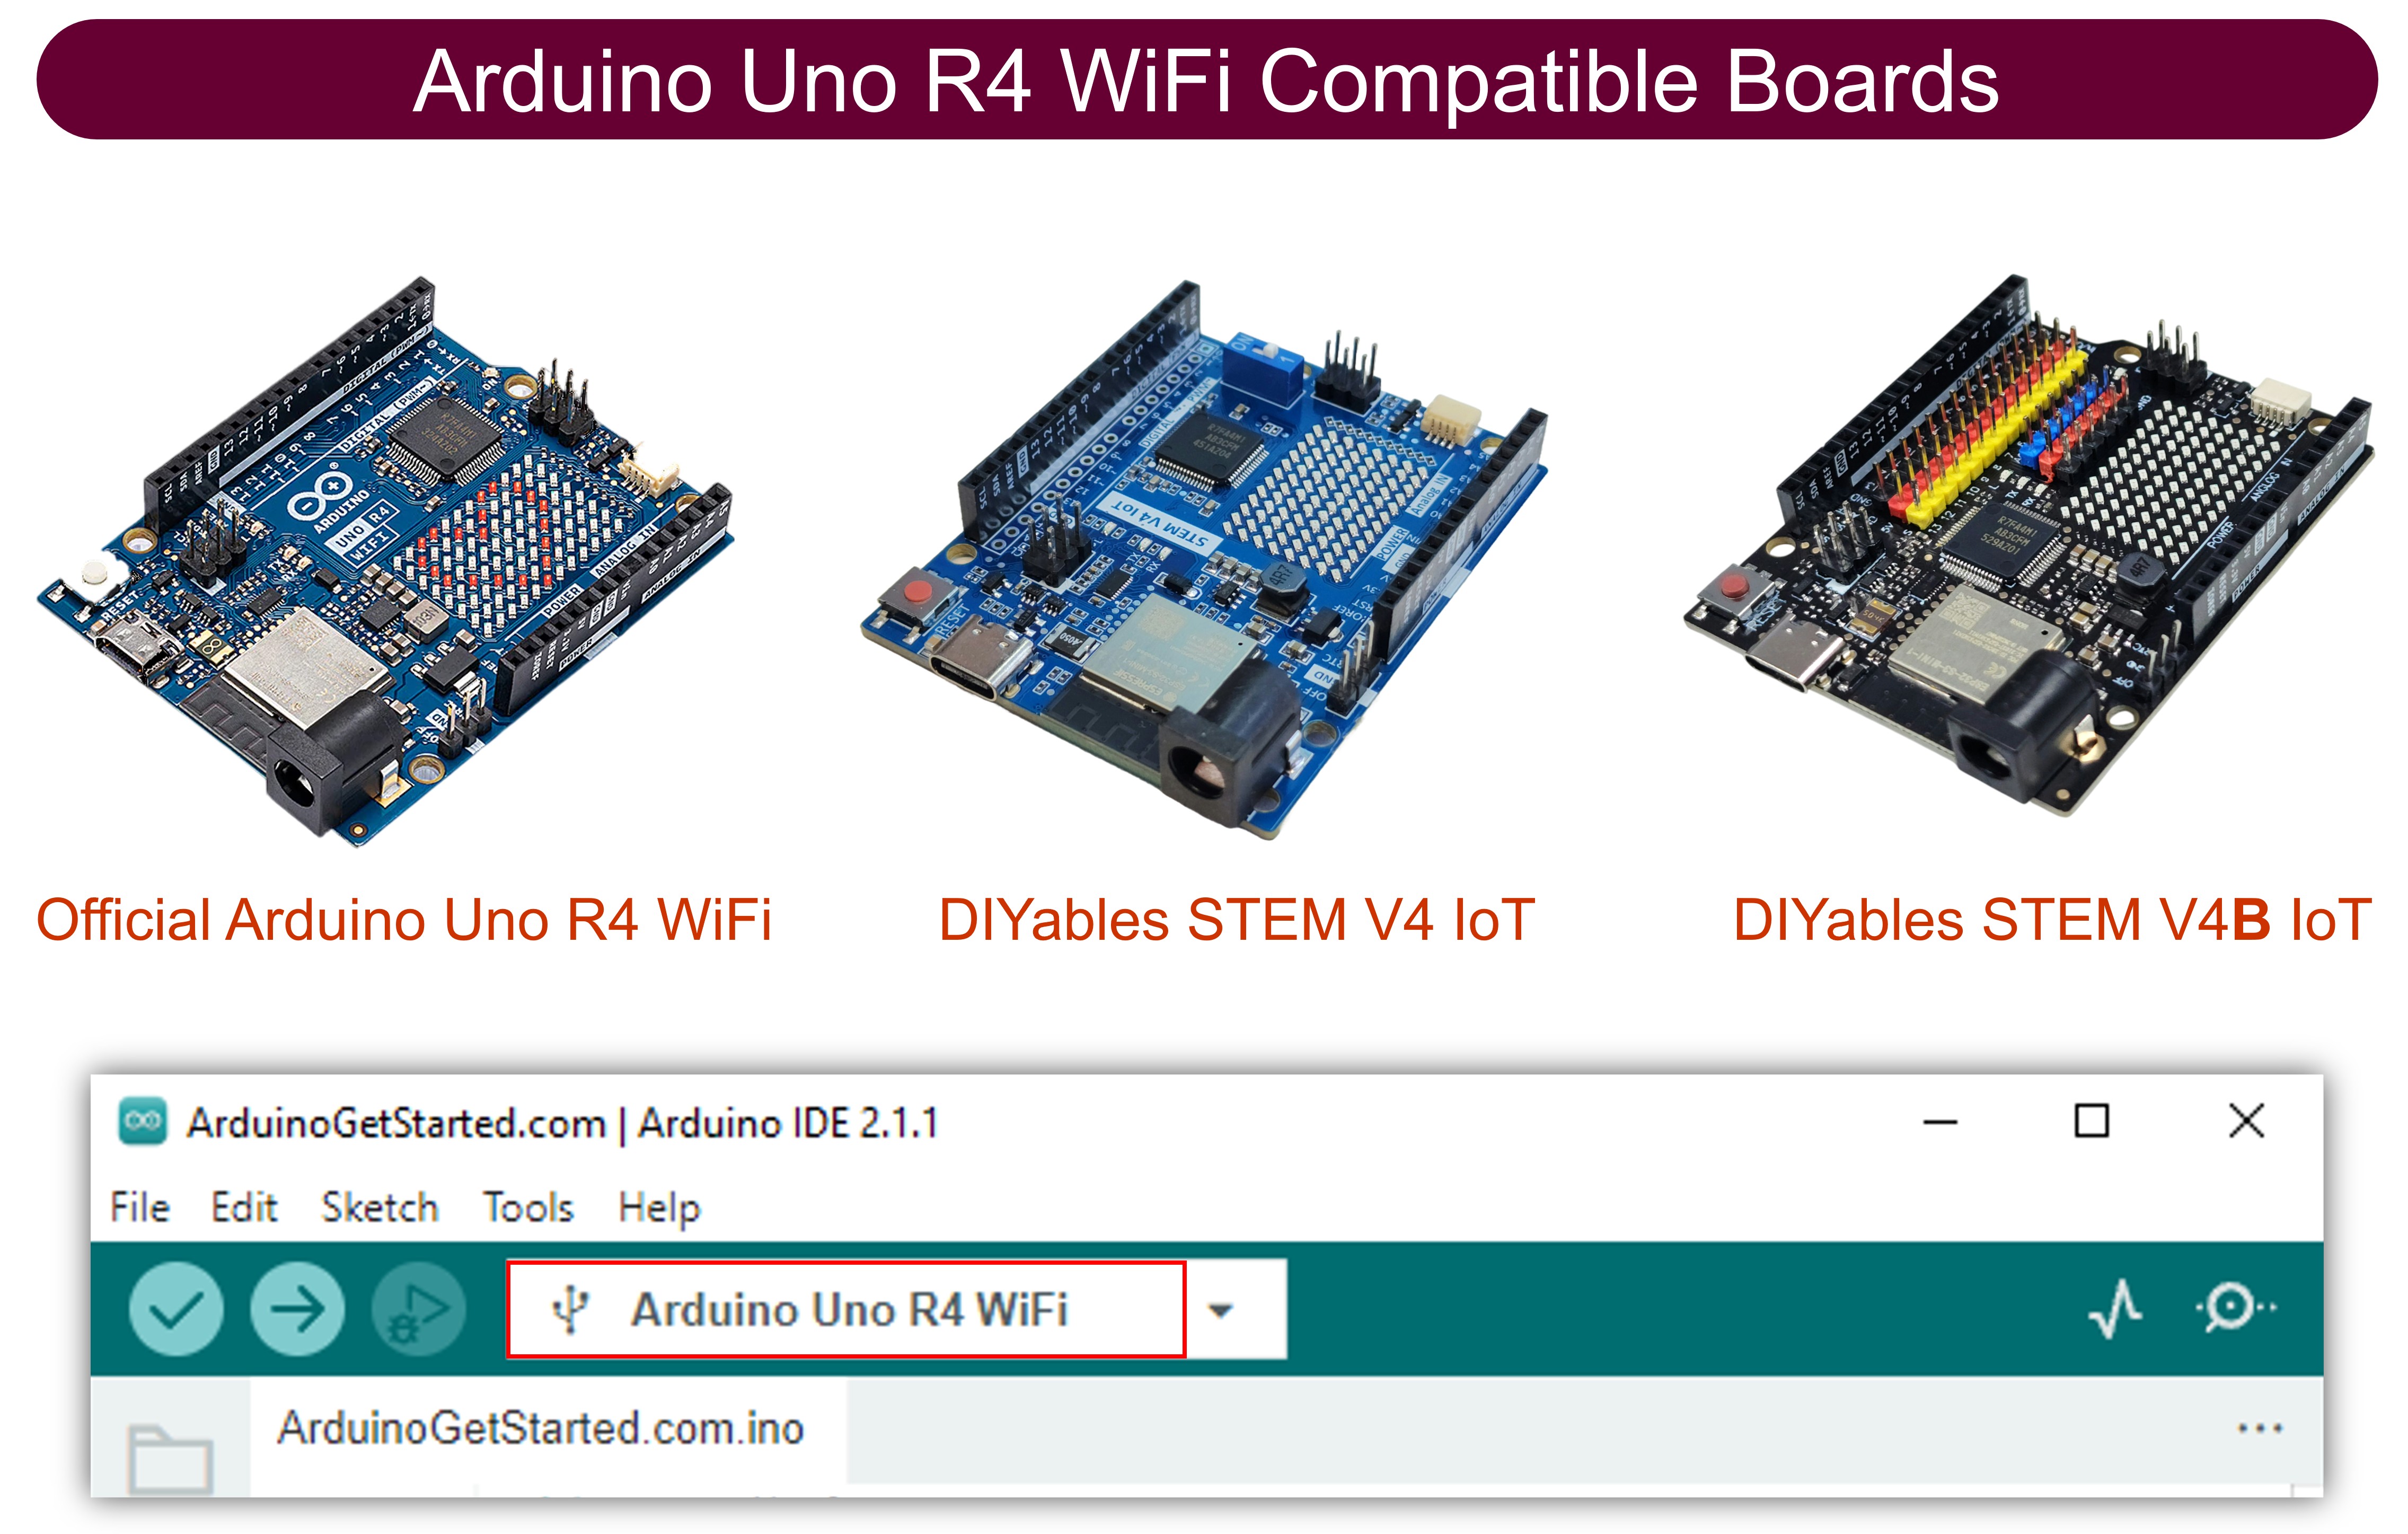
- Arduino Uno R4 WiFi
- Arduino Uno/Mega với Ethernet Shield
Phần cứng cần chuẩn bị
| 2 | × | Arduino UNO R4 WiFi | Amazon | |
| 2 | × | USB Cable Type-C | Amazon |
Alternatively if using Ethernet:
| 2 | × | Arduino Uno R3 | Amazon | |
| 2 | × | USB 2.0 cable type A/B | Amazon | |
| 2 | × | Arduino Ethernet Shield | Amazon | |
| 2 | × | Ethernet Cable | Amazon | |
| 1 | × | (Khuyến nghị) Screw Terminal Block Shield for Arduino UNO R4 | Amazon | |
| 1 | × | (Khuyến nghị) Sensors/Servo Expansion Shield for Arduino UNO R4 | Amazon | |
| 1 | × | (Khuyến nghị) Breadboard Shield for Arduino UNO R4 | Amazon | |
| 1 | × | (Khuyến nghị) Enclosure for Arduino UNO R4 | Amazon | |
| 1 | × | (Khuyến nghị) Power Splitter for Arduino UNO R4 | Amazon | |
| 1 | × | (Khuyến nghị) Prototyping Base Plate & Breadboard Kit for Arduino UNO | Amazon |
Or you can buy the following kits:
| 1 | × | DIYables STEM V3 Starter Kit (Arduino included) | Amazon | |
| 1 | × | DIYables Sensor Kit (18 sensors/displays) | Amazon |
Giao tiếp giữa hai Arduino - Tổng quan
Chúng ta hãy xem xét một trường hợp cụ thể: Arduino số 1 giao tiếp với Arduino số 2. Có nhiều phương pháp để cho phép giao tiếp giữa hai Arduino. Chúng ta có thể chọn một trong số chúng tùy thuộc vào phạm vi giao tiếp. Bảng dưới đây cho thấy một số phương pháp và phạm vi giao tiếp của chúng.
| Methods | Range |
|---|---|
| I2C | very short |
| SPI | very short |
| UART (TTL) | very short |
| UART (RS-232/485/422) | short |
| Bluetooth | short |
| LoRa | long |
| Ethernet/WiFi | unlimited(*) |
※ Lưu ý:
(*):
- Nếu hai Arduino được kết nối với Internet, phạm vi giao tiếp là vô hạn
- Nếu hai Arduino không được kết nối với Internet, nhưng chúng được kết nối trong cùng một mạng LAN, chúng vẫn có thể giao tiếp với nhau. Phạm vi giao tiếp bị giới hạn trong mạng LAN.
Trong số các phương pháp trên, bài hướng dẫn này sử dụng Ethernet/WiFi để cho phép giao tiếp giữa hai Arduino vì nó cho phép hai Arduino giao tiếp ở khoảng cách không giới hạn.
Giao tiếp giữa hai Arduino qua Ethernet/WiFi
Hai Arduino có thể giao tiếp với nhau qua Ethernet hoặc WiFi nếu:
- Hai Arduino trong cùng một mạng LAN, không cần kết nối Internet
- Hai Arduino ở các mạng LAN khác nhau, cần kết nối Internet
Dù hai thiết bị Arduino có kết nối với nhau trong một mạng LAN cục bộ hay qua Internet, có hai loại giao tiếp:
- Hai Arduino giao tiếp trực tiếp với nhau
- Hai Arduino giao tiếp thông qua một máy chủ tập trung (ví dụ máy chủ MQTT). Xem Giao tiếp Arduino với Arduino bằng MQTT
Trong trường hợp giao tiếp trực tiếp, hầu hết các trường hợp, một Arduino đóng vai trò là máy khách TCP, còn Arduino kia đóng vai trò là máy chủ TCP.
Trong trường hợp giao tiếp qua một máy chủ tập trung, ở hầu hết các trường hợp, cả hai Arduino đóng vai trò là máy khách TCP.
Tùy thuộc vào ứng dụng, chúng ta cần chọn một giao thức ứng dụng để giao tiếp giữa hai bo mạch Arduino. Dưới đây là một số giao thức ứng dụng mà chúng ta có thể sử dụng:
- Giao thức tự định nghĩa trên TCP thô (trực tiếp)
- Modbus TCP (trực tiếp)
- HTTP (trực tiếp)
- Telnet (trực tiếp)
- SSH (trực tiếp)
- MQTT (thông qua một máy chủ tập trung)
※ Lưu ý:
Không quan trọng nếu:
- Cả hai Arduino đều dùng Ethernet
- Cả hai Arduino đều dùng WiFi
- Một Arduino dùng Ethernet, Arduino còn lại dùng WiFi
Giao thức UDP nằm ngoài phạm vi của bài hướng dẫn này.
Ứng dụng ví dụ
Hãy hiện thực hóa ứng dụng sau: Một nút nhấn hoặc công tắc được kết nối với Arduino số 1 sẽ điều khiển một LED được kết nối với Arduino số 2 qua Ethernet/WiFi.
Hướng dẫn này sử dụng hai Shield Ethernet của Arduino. Bạn có thể sử dụng một Arduino - WiFi hoặc Arduino - Mạng Ethernet khác. Nếu bạn sử dụng một shield khác, chỉ cần chỉnh sửa mã một chút.
Như đã đề cập ở trên, có một số giao thức ứng dụng mà chúng ta có thể sử dụng. Trong ví dụ này, để đơn giản, chúng ta sẽ tự định nghĩa một giao thức (một giao thức do chính chúng ta định nghĩa).
Giao thức tự định nghĩa
Hãy định nghĩa một giao thức đơn giản:
- Một kết nối TCP được tạo giữa Arduino #1 và Arduino #2
- Arduino #1:
- Đóng vai trò là máy chủ TCP, tích cực gửi yêu cầu kết nối TCP tới Arduino #2
- Khi công tắc được bật, Arduino #1 gửi một byte (lệnh) có giá trị là 1 tới Arduino #2.
- Khi công tắc được tắt, Arduino #1 gửi một byte (lệnh) có giá trị là 0 tới Arduino #2.
- Arduino #2:
- Đóng vai trò là máy chủ TCP, lắng nghe yêu cầu kết nối TCP từ Arduino #1
- Nếu byte nhận được bằng 1, Bật đèn LED
- Nếu byte nhận được bằng 0, Tắt LED
Sơ đồ đấu dây
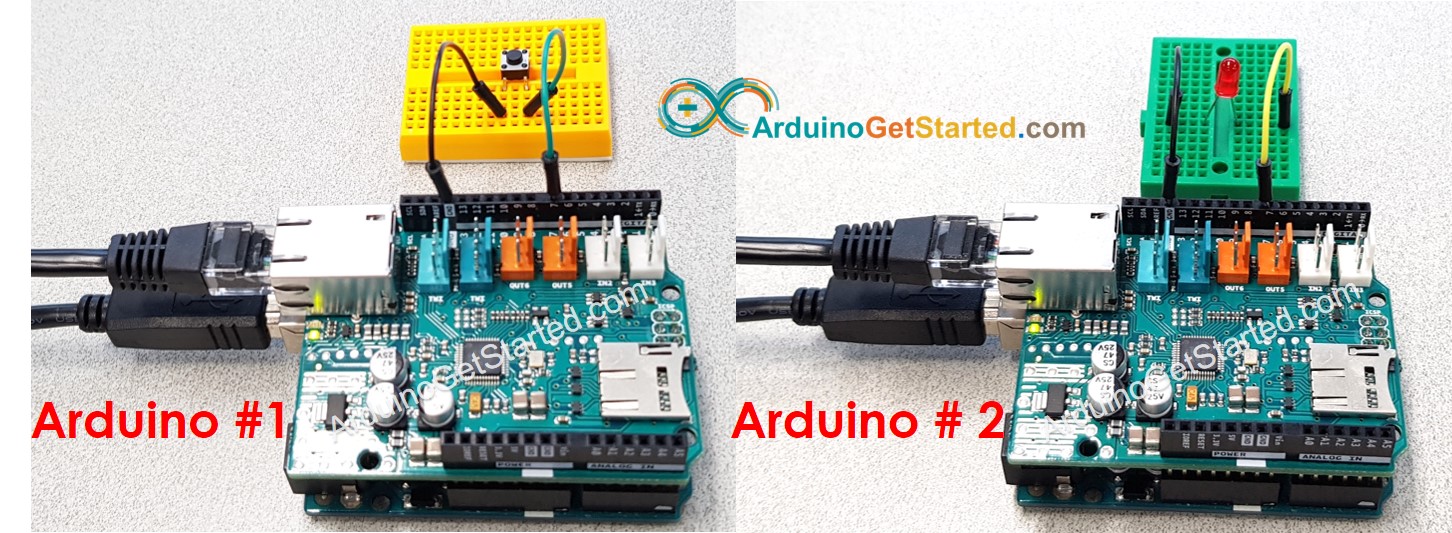
※ Lưu ý:
Bạn cần thêm một điện trở cho LED nếu LED không có điện trở tích hợp sẵn. Bạn có thể tìm hiểu thêm trong các bài hướng dẫn Arduino - LED - Nhấp nháy và Arduino - Nút nhấn.
Giao tiếp giữa hai Arduino thông qua WiFi
Mã Arduino cho Arduino Uno R4 WiFi #1
Mã Arduino cho Arduino Uno R4 WiFi #2
Giao tiếp giữa hai Arduino qua Ethernet
Mã Arduino cho Arduino Ethernet #1
Mã Arduino cho Arduino Ethernet #2
Hướng dẫn từng bước
- Nếu dùng Ethernet Shield, xếp chồng các Ethernet Shield lên Arduino #1 và Arduino #2
- Kết nối một nút nhấn/công tắc với Arduino #1
- Kết nối một LED với Arduino #2
- Mở Arduino IDE (gọi là Arduino IDE #1)
- Cài đặt thư viện ezButton trên Arduino IDE
- Kết nối Arduino #1 với máy tính qua cáp USB và chọn cổng COM của Arduino #1 trên Arduino IDE #1
- Mở một cửa sổ Arduino IDE khác (gọi là Arduino IDE #2) bằng nhấp vào biểu tượng Arduino IDE trên máy tính của bạn (quan trọng!())
- Kết nối Arduino #2 với máy tính qua cáp USB và chọn cổng COM của Arduino #2 trên Arduino IDE #2
- Sao chép mã Arduino #1, dán vào Arduino IDE #1 và lưu lại (đặt tên Arduino1)
- Sao chép mã Arduino #2, dán vào Arduino IDE #2 và lưu lại (đặt tên Arduino2)
- Tải mã Arduino #2 lên Arduino #2 trước
- Mở Serial Monitor trên Arduino IDE #2, lấy địa chỉ IP của máy chủ TCP
- Cập nhật địa chỉ IP máy chủ TCP trong mã Arduino #1
- Tải mã Arduino #1 lên Arduino #1
- Mở Serial Monitor trong Arduino IDE #1
- Nhấn và giữ nút trên Arduino #1 → xem trạng thái LED ở Arduino #2 (BẬT)
- Nhả nút trên Arduino #1 → xem trạng thái LED ở Arduino #2 (TẮT)
- Nhấn, giữ và thả nút vài lần.
- Xem đầu ra trên cả hai Serial Monitor
- Serial Monitor của Arduino #1
- Trình giám sát nối tiếp của Arduino #2
※ Lưu ý:
- (): Nếu bạn mở cửa sổ Arduino IDE #2 bằng cách vào "File" → "New" hoặc "Open" từ cửa sổ Arduino IDE #2, bạn sẽ không thể mở hai trình theo dõi Serial cho hai Arduino trên cùng một máy tính cùng một lúc.
- Có một phương án thay thế cho giao thức tự định nghĩa này. Đó là Modbus TCP. Giao thức Modbus được chuẩn hóa, nó có nhiều ưu điểm so với giao thức tự định nghĩa. Xem thêm trong hướng dẫn Arduino - Modbus.
Video Tutorial
Việc sản xuất video tốn rất nhiều thời gian. Nếu video hướng dẫn hữu ích cho việc học của bạn, hãy đăng ký kênh YouTube để ủng hộ. Nếu nhu cầu đủ cao, chúng tôi sẽ cố gắng làm thêm nhiều video.
Cách kết nối hai Arduino qua Internet
Có hai loại địa chỉ IP: địa chỉ IP riêng tư và địa chỉ IP công khai. Địa chỉ IP bạn đang sử dụng trong mạng gia đình thường là một địa chỉ IP riêng tư.
Bạn có thể dễ dàng nhận diện địa chỉ IP riêng. Địa chỉ IP riêng có ba mẫu: 10.x.x.x, 172.16.x.x, 192.168.x.x
Việc sử dụng địa chỉ IP riêng trong trường hợp sau đây không quan trọng:
- Nếu hai Arduino nằm trong cùng một mạng LAN, bất kể chúng giao tiếp trực tiếp hay thông qua một máy chủ tập trung, bất kể mạng LAN của bạn có kết nối với Internet hay không.
- Nếu hai Arduino ở hai mạng LAN khác nhau và giao tiếp với nhau thông qua một máy chủ tập trung
Trong trường hợp hai Arduino ở các mạng LAN khác nhau và giao tiếp với nhau trực tiếp. Máy khách TCP Arduino có thể sử dụng địa chỉ IP riêng. Tuy nhiên, máy chủ TCP Arduino phải sử dụng một trong hai cái sau:
- Một địa chỉ IP công khai
- Một địa chỉ IP riêng với chuyển tiếp cổng trên Router/AP
Quá trình thực hiện 'Port Forwarding' khác nhau tùy từng router/AP. Điều này nằm ngoài phạm vi của bài hướng dẫn này.
Bài hướng dẫn liên quan
📱 Ứng dụng đề xuất
 English for KidsHọc tiếng Anh vui nhộn cho trẻ nhỏ.Tải về trênGoogle PlayTải về trênApp Store
 Bubble NoteGhi chú tự xóa — viết như nhắn tin.Tải về trênGoogle PlayTải về trênApp Store
 Tôi Không MuaĐánh bại mua sắm bốc đồng, tiết kiệm hơn.Tải về trênGoogle PlayTải về trênApp Store
 Con Đường Tri ThứcBài thi thử để học mọi thứ.Tải về trênGoogle PlayTải về trênApp Store