Arduino Máy khách TCP
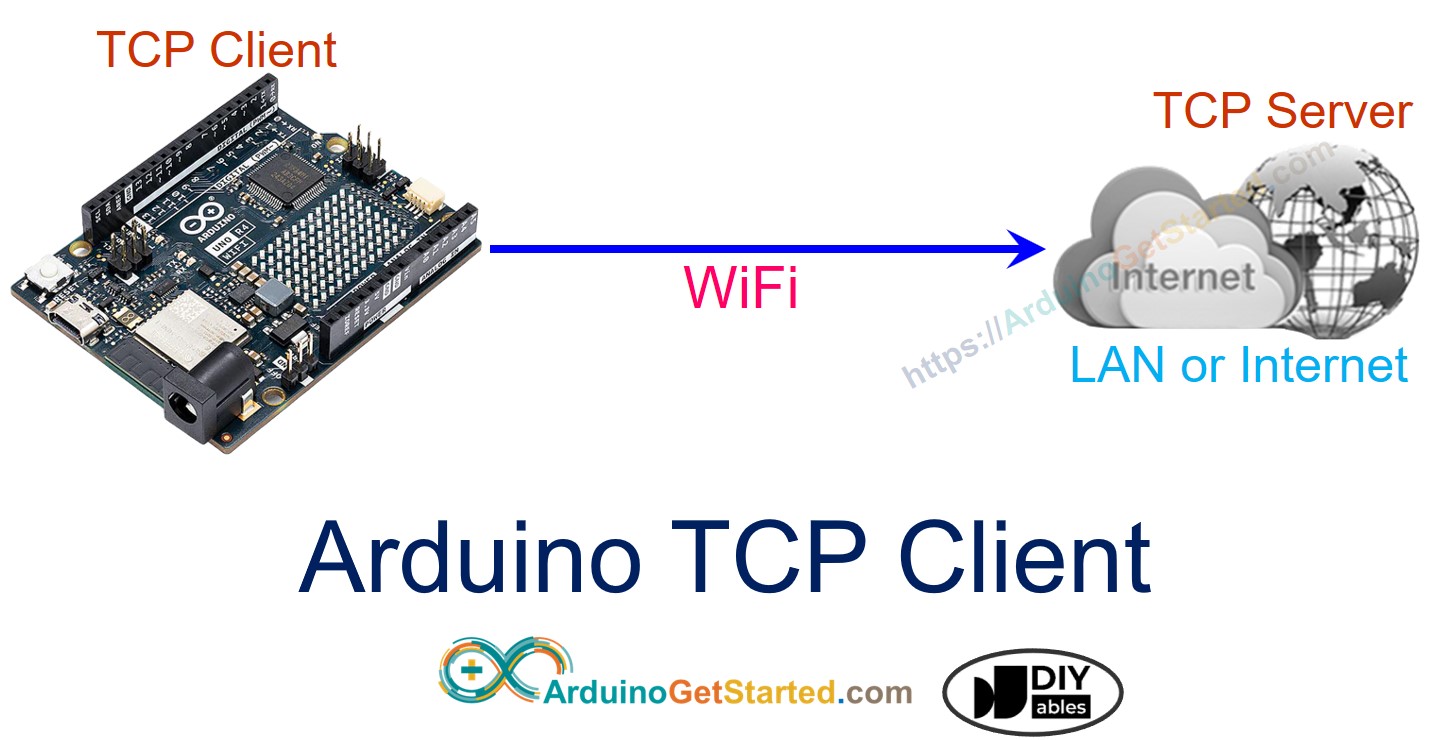
Trong hướng dẫn này, chúng ta sẽ học cách lập trình Arduino Uno R4 WiFi làm một client TCP và trao đổi dữ liệu với máy chủ TCP.
Phần cứng cần chuẩn bị
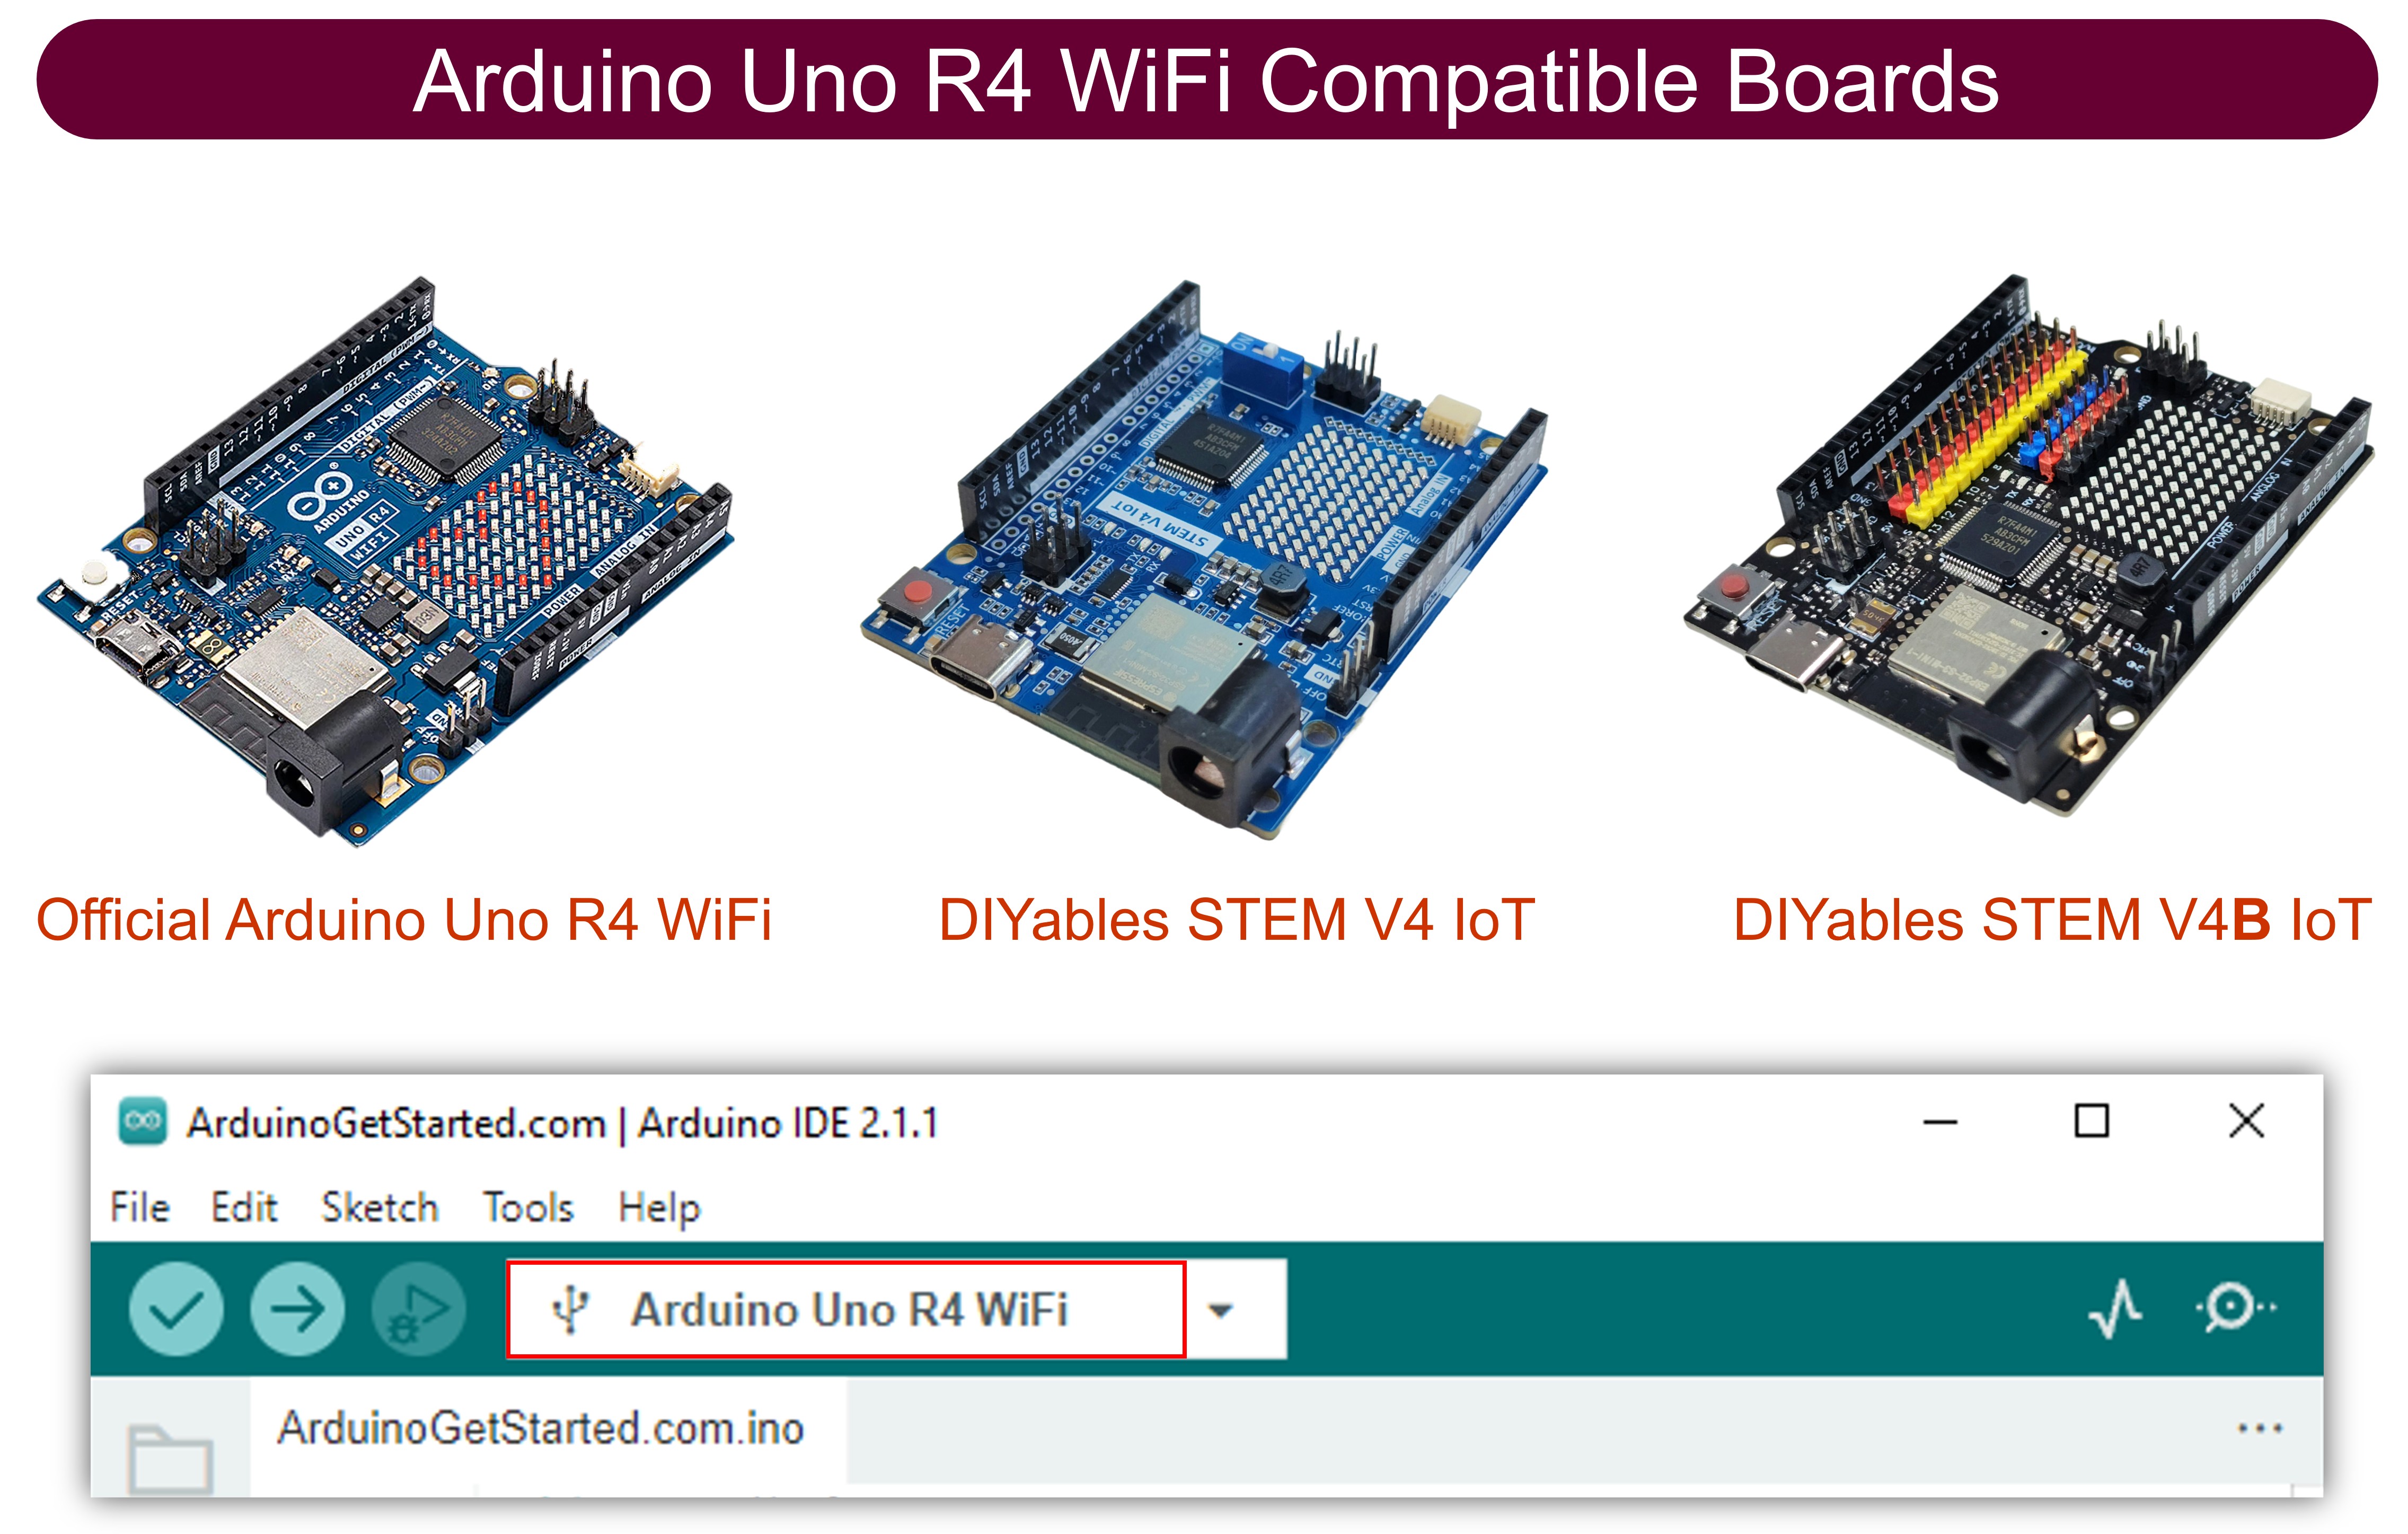
| 1 | × | Arduino UNO R4 WiFi | Amazon | |
| 1 | × | Alternatively, DIYables STEM V4 IoT | Amazon | |
| 1 | × | Alternatively, DIYables STEM V4B IoT | Amazon | |
| 1 | × | (Tùy chọn) DIYables STEM V4 IoT | Amazon | |
| 1 | × | USB Cable Type-A to Type-C (for USB-A PC) | Amazon | |
| 1 | × | USB Cable Type-C to Type-C (for USB-C PC) | Amazon | |
| 1 | × | (Tùy chọn) Jumper Wires | Amazon | |
| 1 | × | (Khuyến nghị) Screw Terminal Block Shield for Arduino UNO R4 | Amazon | |
| 1 | × | (Khuyến nghị) Sensors/Servo Expansion Shield for Arduino UNO R4 | Amazon | |
| 1 | × | (Khuyến nghị) Breadboard Shield for Arduino UNO R4 | Amazon | |
| 1 | × | (Khuyến nghị) Enclosure for Arduino UNO R4 | Amazon | |
| 1 | × | (Khuyến nghị) Power Splitter for Arduino UNO R4 | Amazon | |
| 1 | × | (Khuyến nghị) Prototyping Base Plate & Breadboard Kit for Arduino UNO | Amazon |
Or you can buy the following kits:
| 1 | × | DIYables STEM V4 IoT Starter Kit (Arduino included) | Amazon | |
| 1 | × | DIYables Sensor Kit (18 sensors/displays) | Amazon |
Tiết lộ: Một số liên kết trong bài viết này là liên kết tiếp thị Amazon và có thể nhận hoa hồng theo chính sách của chương trình.
Mã Arduino
/*
* Mã Arduino này được phát triển bởi newbiely.vn
* Mã Arduino này được cung cấp để sử dụng công khai, không có ràng buộc.
* Để xem hướng dẫn chi tiết và sơ đồ kết nối, vui lòng truy cập:
* https://newbiely.vn/tutorials/arduino/arduino-tcp-client
*/
#include <WiFiS3.h>
const char* WIFI_SSID = "YOUR_WIFI_SSID"; // CHANGE TO YOUR WIFI SSID
const char* WIFI_PASSWORD = "YOUR_WIFI_PASSWORD"; // CHANGE TO YOUR WIFI PASSWORD
const char* TCP_SERVER_ADDR = "192.168.0.26"; // CHANGE TO TCP SERVER'S IP ADDRESS
const int TCP_SERVER_PORT = 1470;
WiFiClient TCP_client;
void setup() {
Serial.begin(9600);
Serial.println("Arduino: TCP CLIENT");
// check for the WiFi module:
if (WiFi.status() == WL_NO_MODULE) {
Serial.println("Communication with WiFi module failed!");
// don't continue
while (true)
;
}
String fv = WiFi.firmwareVersion();
if (fv < WIFI_FIRMWARE_LATEST_VERSION) {
Serial.println("Please upgrade the firmware");
}
Serial.print("Attempting to connect to SSID: ");
Serial.println(WIFI_SSID);
// attempt to connect to WiFi network:
while (WiFi.begin(WIFI_SSID, WIFI_PASSWORD) != WL_CONNECTED) {
delay(10000); // wait 10 seconds for connection:
}
Serial.print("Connected to WiFi ");
Serial.println(WIFI_SSID);
// connect to TCP server
if (TCP_client.connect(TCP_SERVER_ADDR, TCP_SERVER_PORT)) {
Serial.println("Connected to TCP server");
TCP_client.write("Hello!"); // send to TCP Server
TCP_client.flush();
} else {
Serial.println("Failed to connect to TCP server");
}
}
void loop() {
// Read data from server and print them to Serial
if (TCP_client.available()) {
char c = TCP_client.read();
Serial.print(c);
}
if (!TCP_client.connected()) {
Serial.println("Connection is disconnected");
TCP_client.stop();
// reconnect to TCP server
if (TCP_client.connect(TCP_SERVER_ADDR, TCP_SERVER_PORT)) {
Serial.println("Reconnected to TCP server");
TCP_client.write("Hello!"); // send to TCP Server
TCP_client.flush();
} else {
Serial.println("Failed to reconnect to TCP server");
delay(1000);
}
}
}
Bước nhanh
Để thực hiện điều này, hãy làm theo các bước dưới đây:
- Kết nối Arduino với PC của bạn bằng cáp USB Type-C
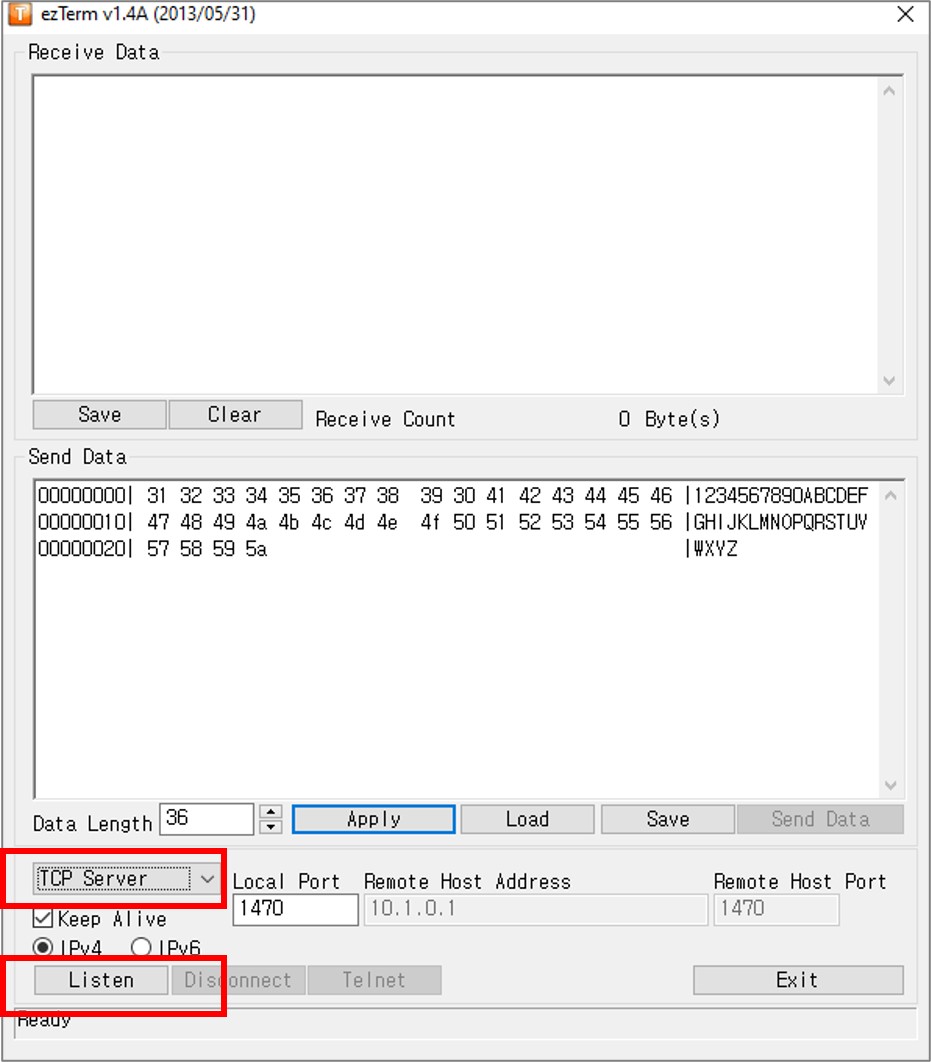
- Cài đặt một phần mềm máy chủ TCP như ezTerm
- Mở chương trình máy chủ TCP và cấu hình nó thành máy chủ TCP, sau đó nhấn nút Listen
- Mở Command Prompt trên máy tính của bạn.
- Tìm địa chỉ IP của máy tính của bạn bằng cách chạy lệnh dưới đây:
ipconfig
- Kết quả đầu ra như dưới đây:
Command Prompt
C:\WINDOWS\system32>ipconfig
Windows IP Configuration
Ethernet adapter:
Subnet Mask . . . . . . . . . . . : 255.0.0.0
IPv4 Address. . . . . . . . . . . : 192.168.0.26
Subnet Mask . . . . . . . . . . . : 255.255.255.0
Default Gateway . . . . . . . . . :
- Thay đổi địa chỉ IP của máy chủ TCP (máy tính của bạn) trong mã Arduino. Trong ví dụ ở trên, nó được chỉ ra bằng 192.168.0.26.
- Biên dịch và tải mã lên bảng Arduino bằng cách nhấn nút Upload trong IDE Arduino.
- Mở Serial Monitor
- Bạn sẽ thấy như sau trên Serial Monitor
8
Serial.println("Hello World!");
Message (Enter to send message to 'Arduino Uno' on 'COM15')
New Line
9600 baud
Connected to WiFi YOUR_WIFI_SSID
Connected to TCP server
- Sau khi kết nối với máy chủ TCP, Arduino sẽ gửi một "Hello!" tới máy chủ TCP, và bạn sẽ thấy văn bản này trên phần mềm của máy chủ TCP.
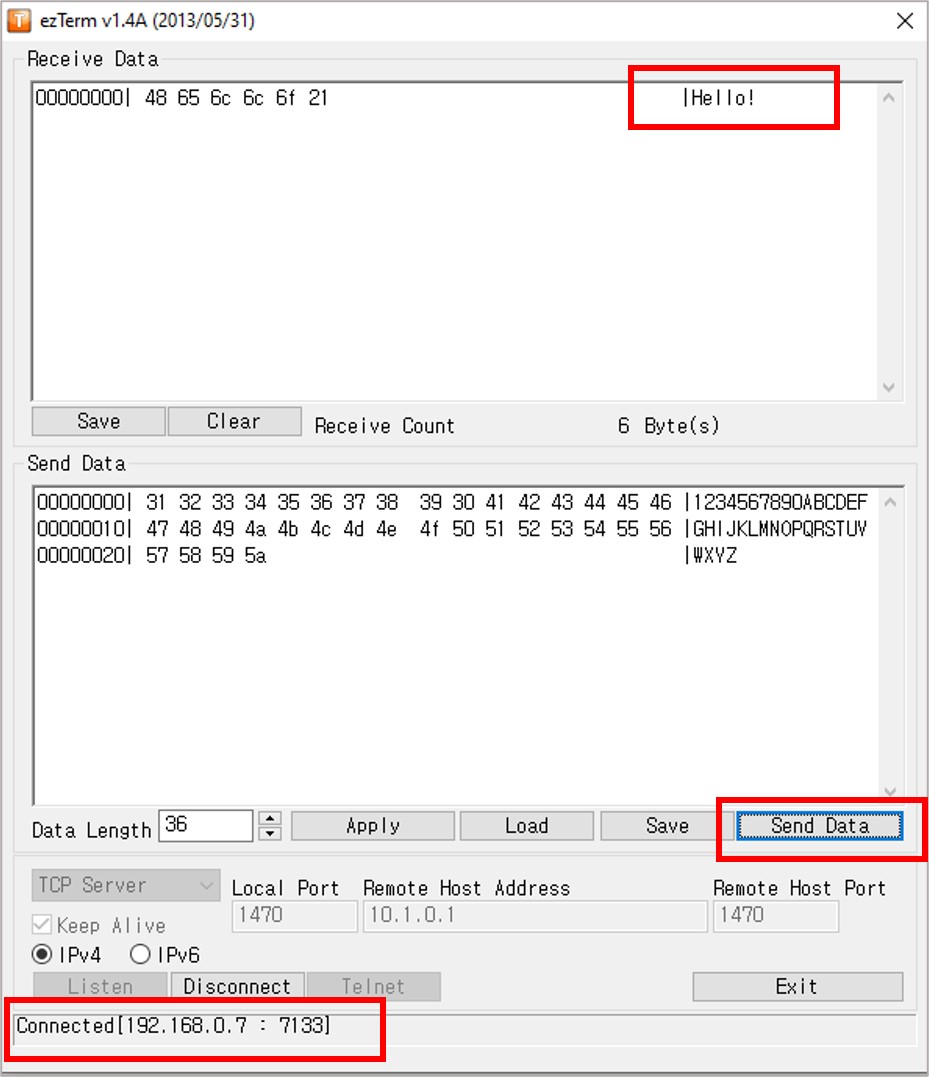
- Nhập dữ liệu vào chương trình máy chủ TCP để gửi nó tới Arduino thông qua TCP.
- Nếu thành công, bạn sẽ thấy dữ liệu trong Serial Monitor.
8
Serial.println("Hello World!");
Message (Enter to send message to 'Arduino Uno' on 'COM15')
New Line
9600 baud
Connected to WiFi YOUR_WIFI_SSID
Connected to TCP server
1234567890ABCDEFGHIJKLMNOPQRSTUVWXYZ
Bài hướng dẫn liên quan
📱 Ứng dụng đề xuất
 English for KidsHọc tiếng Anh vui nhộn cho trẻ nhỏ.Tải về trênGoogle PlayTải về trênApp Store
 Bubble NoteGhi chú tự xóa — viết như nhắn tin.Tải về trênGoogle PlayTải về trênApp Store
 Tôi Không MuaĐánh bại mua sắm bốc đồng, tiết kiệm hơn.Tải về trênGoogle PlayTải về trênApp Store
 Con Đường Tri ThứcBài thi thử để học mọi thứ.Tải về trênGoogle PlayTải về trênApp Store